 |
Misty Moonlight Gift Card Box
I’m always looking for projects that are out of the ordinary and I found a box made by Brenda Quintana online, and so with her inspiration, this is my version. Thank you Brenda (QbeesQuest.com)!
Ingredients:
Card stock
Box: Misty Moonlight-9”X7”- Score at 1”, 4”, 5” and 8” on the 9” side and on the 7” side score at 1” and 6”
Box Insert to hold gift card: Just Jade-5”X7”- Score at 2 1/4”, 3 1/2” and 4 3/4” on the 7” side
Card Base: Misty Moonlight-5” X 6”- Score at 3” on 6” side
Card front and inner card: Whisper White– 2 pieces– each 2 7/8”X 4 7/8”
Stamp Set(s)
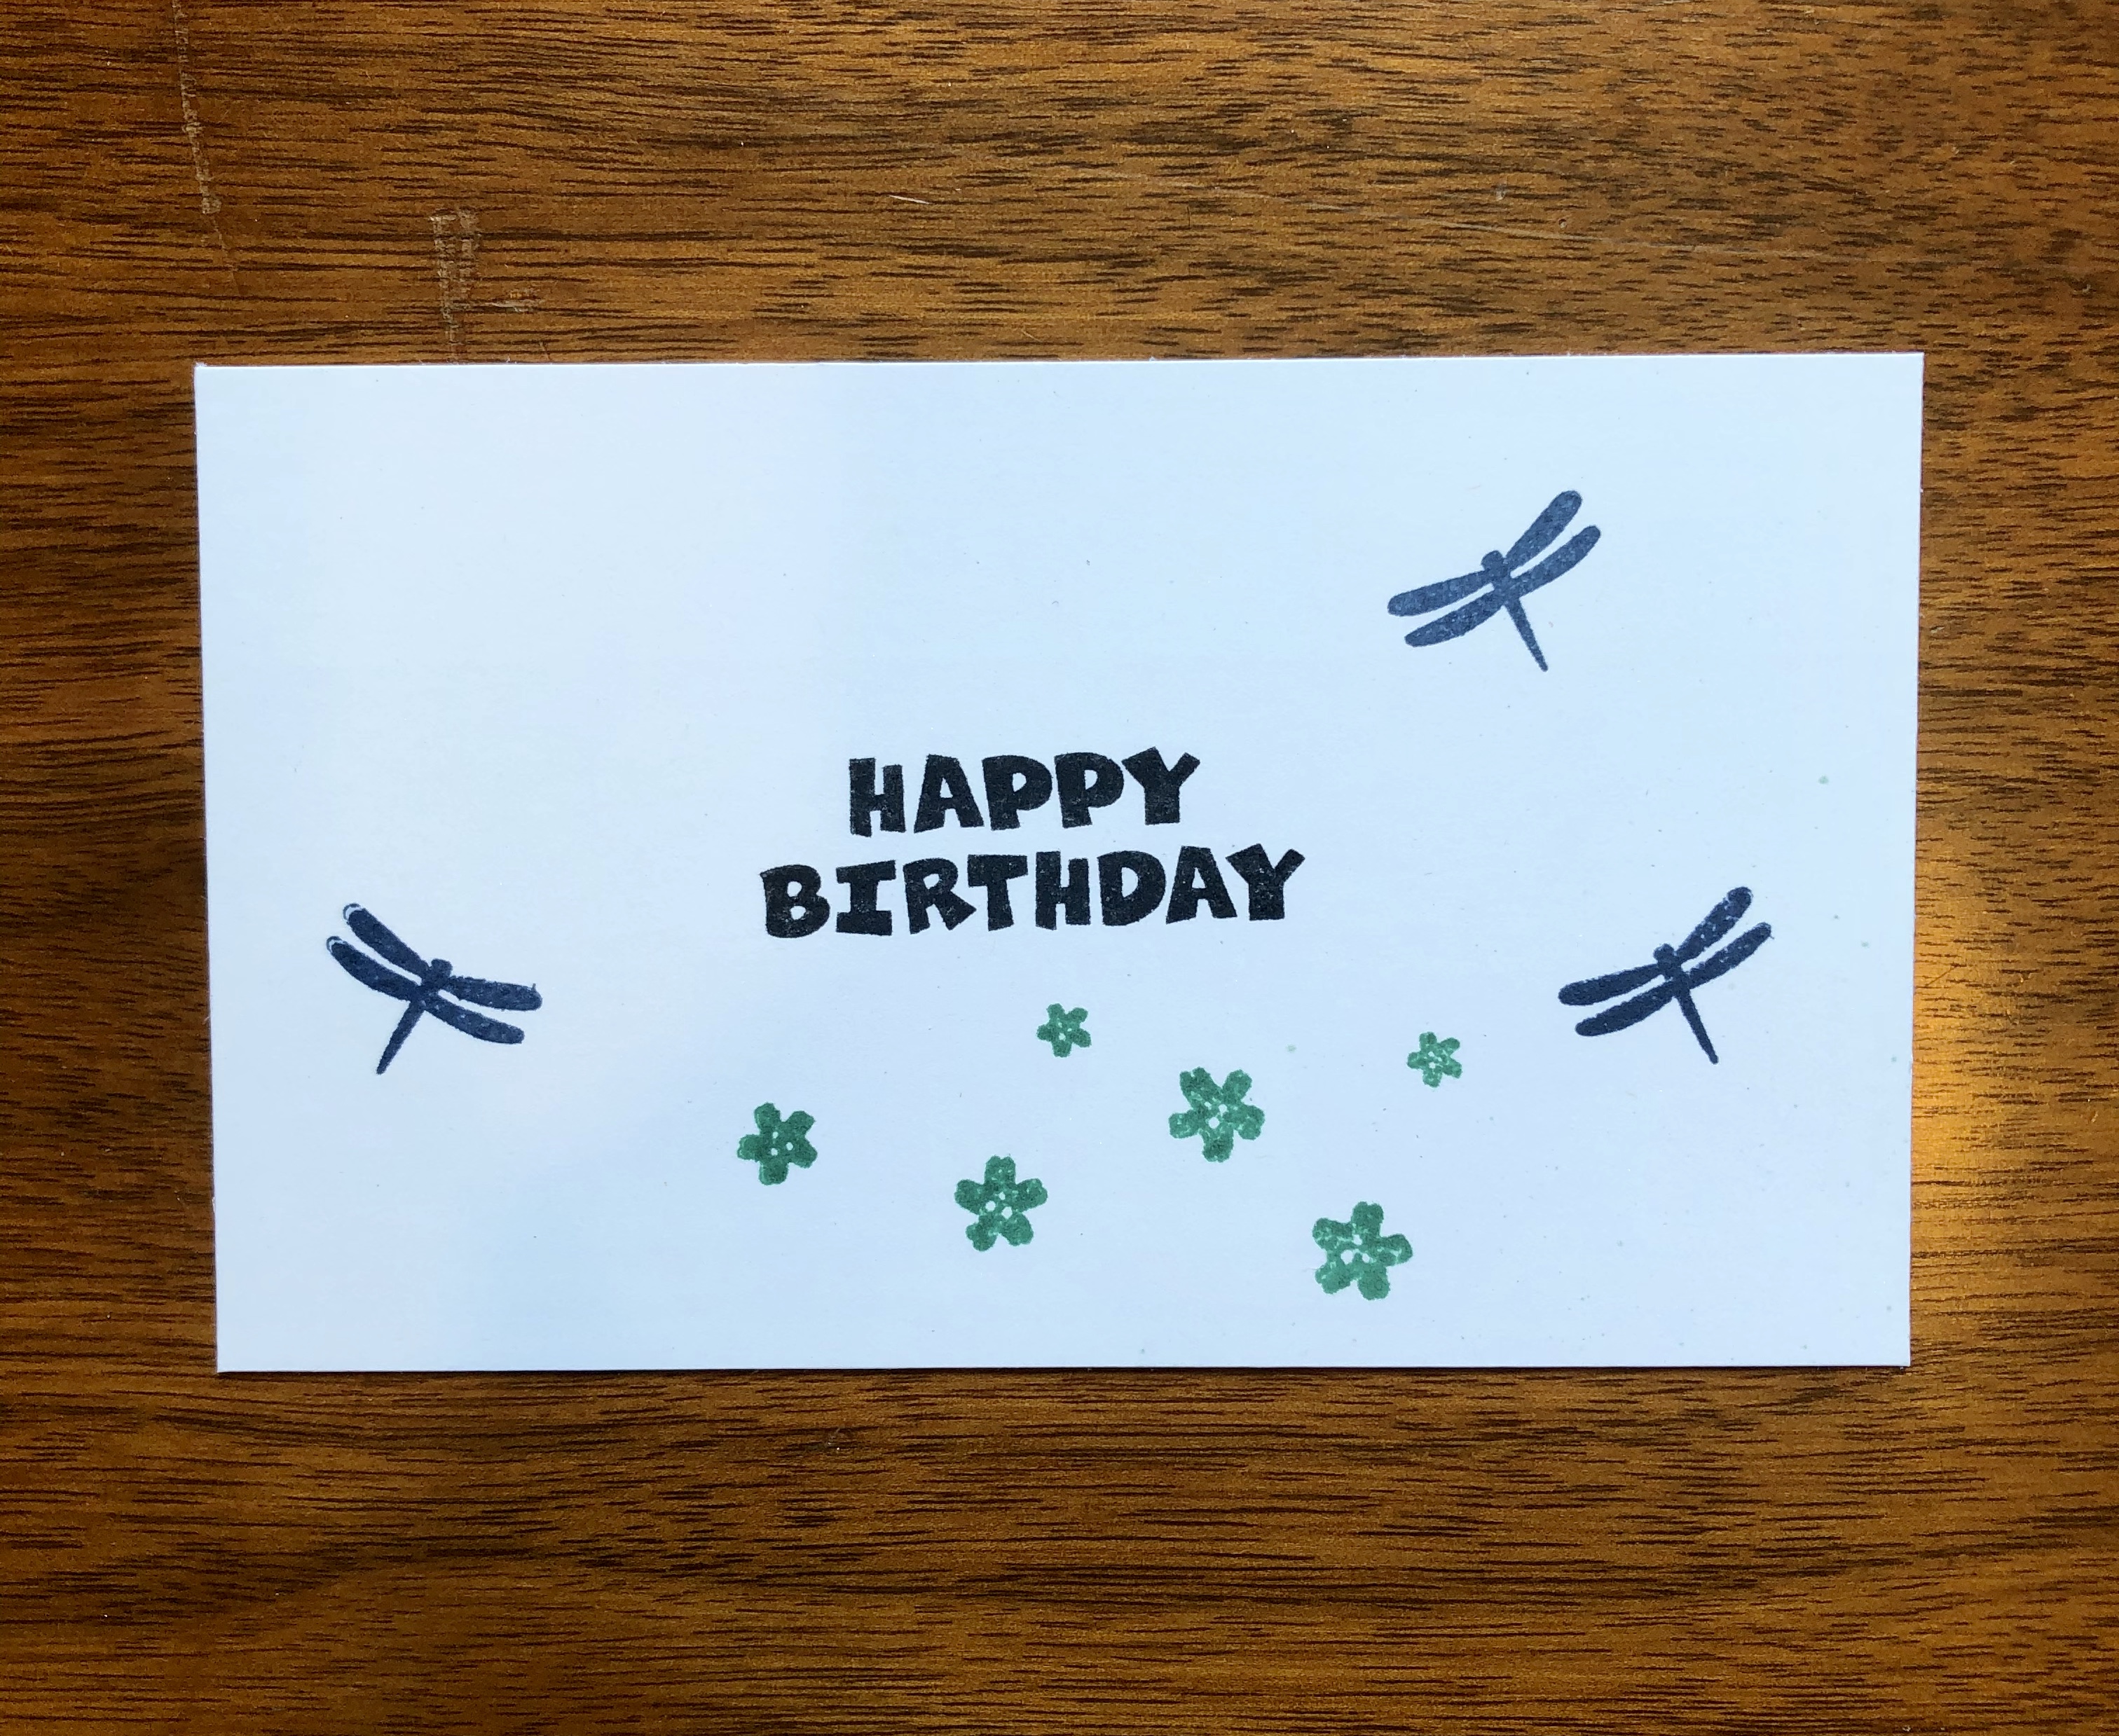
Field of Flowers and for the “Happy Birthday” sentiment on the inside I used A Grand Kid
Inks
Misty Moonlight, Just Jade, Memento Tuxedo Black
Tools
Paper Cutter, Simply Scored scoring tool, Tailored Tag Punch, Paper Snips, Bone Folder, Spritzer, gift card or straight edge, Paper Piercing Mat, Stamping Blocks A, C, G, H, I (2 of these– one to mount a stamp and one to do the magic in this card)
Other
Frost White Shimmer Paint, rubbing alcohol (about 10 drops paint and fill the spritzer 3/4 full with rubbing alcohol)
Embellishments
Ribbon-Old Olive/Pretty Peacock Reversible-19” for bow around box
Adhesives
Tear & Tape or Stampin’ Seal and Stampin’ Seal +
Instructions:
1. Cut and score cardstock– Once scorelines are made burnish with bone folder to get good creases.
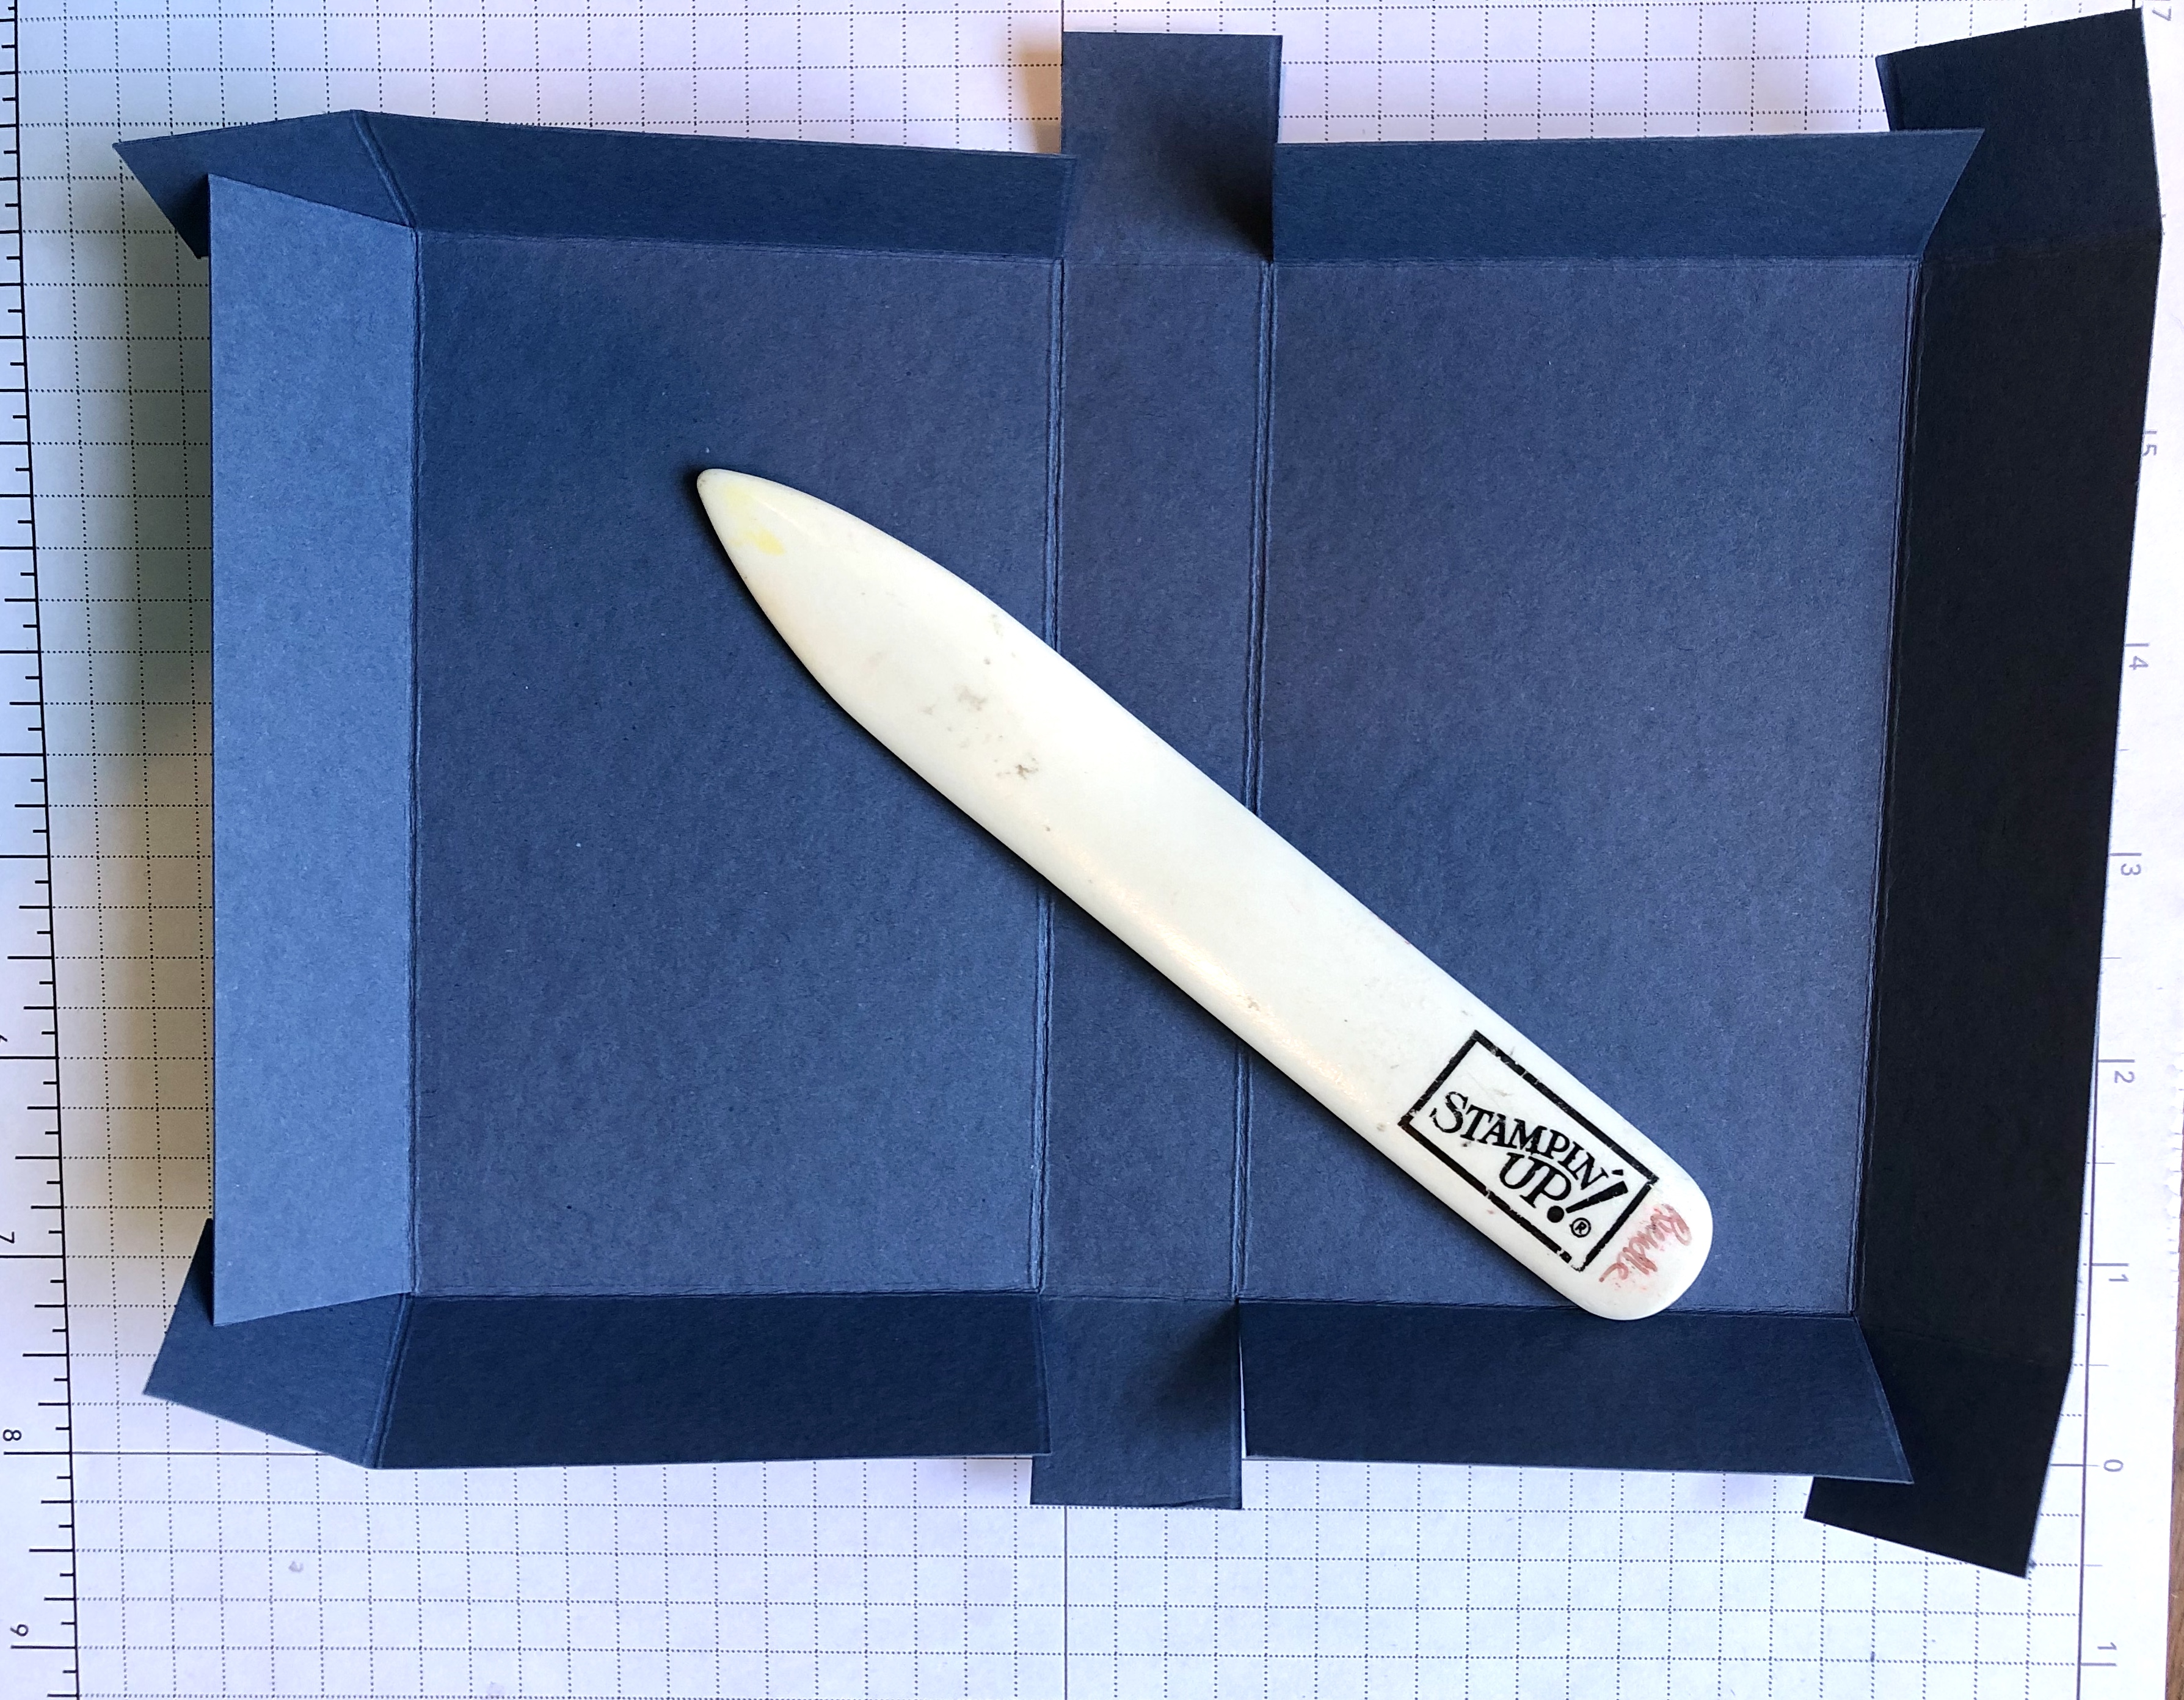
2. Turn box over and apply Tear & Tape. DO NOT FORM BOX/TAPE CORNERS UNTIL READY TO INSERT GIFT CARD HOLDER.

3. Set box aside and make card for the top of the box.
4. Stamp the flowers along the bottom of the Whisper White card stock. Then, using the I Block, ink the block with Misty Moonlight. Using spritzer with Shimmer Paint and alcohol mix, spritz entire area till it’s very runny. Then tilt the block back and forth to get good coverage. Carefully turn block over and “stamp” the sky on your card stock, pressing as heavily, or lightly as you desire. Each time I’ve done this technique I get a different look and they’re all pretty. There’s no right or wrong!


5. Do the same thing with Just Jade ink and stamp over flowers. Allow ink to dry and then, using the Memento Tuxedo Black Ink, stamp your images and sentiments.


6. Now stamp your Whisper White inner card. Adhere both to your Misty Moonlight card base and then adhere card to the top of your box. Not shown in the pictures, however, use the Tailored Tag Punch to punch the lip of the lid to make it easier for your recipient to open their box (see video).
7. Now adhere your corners of your box.
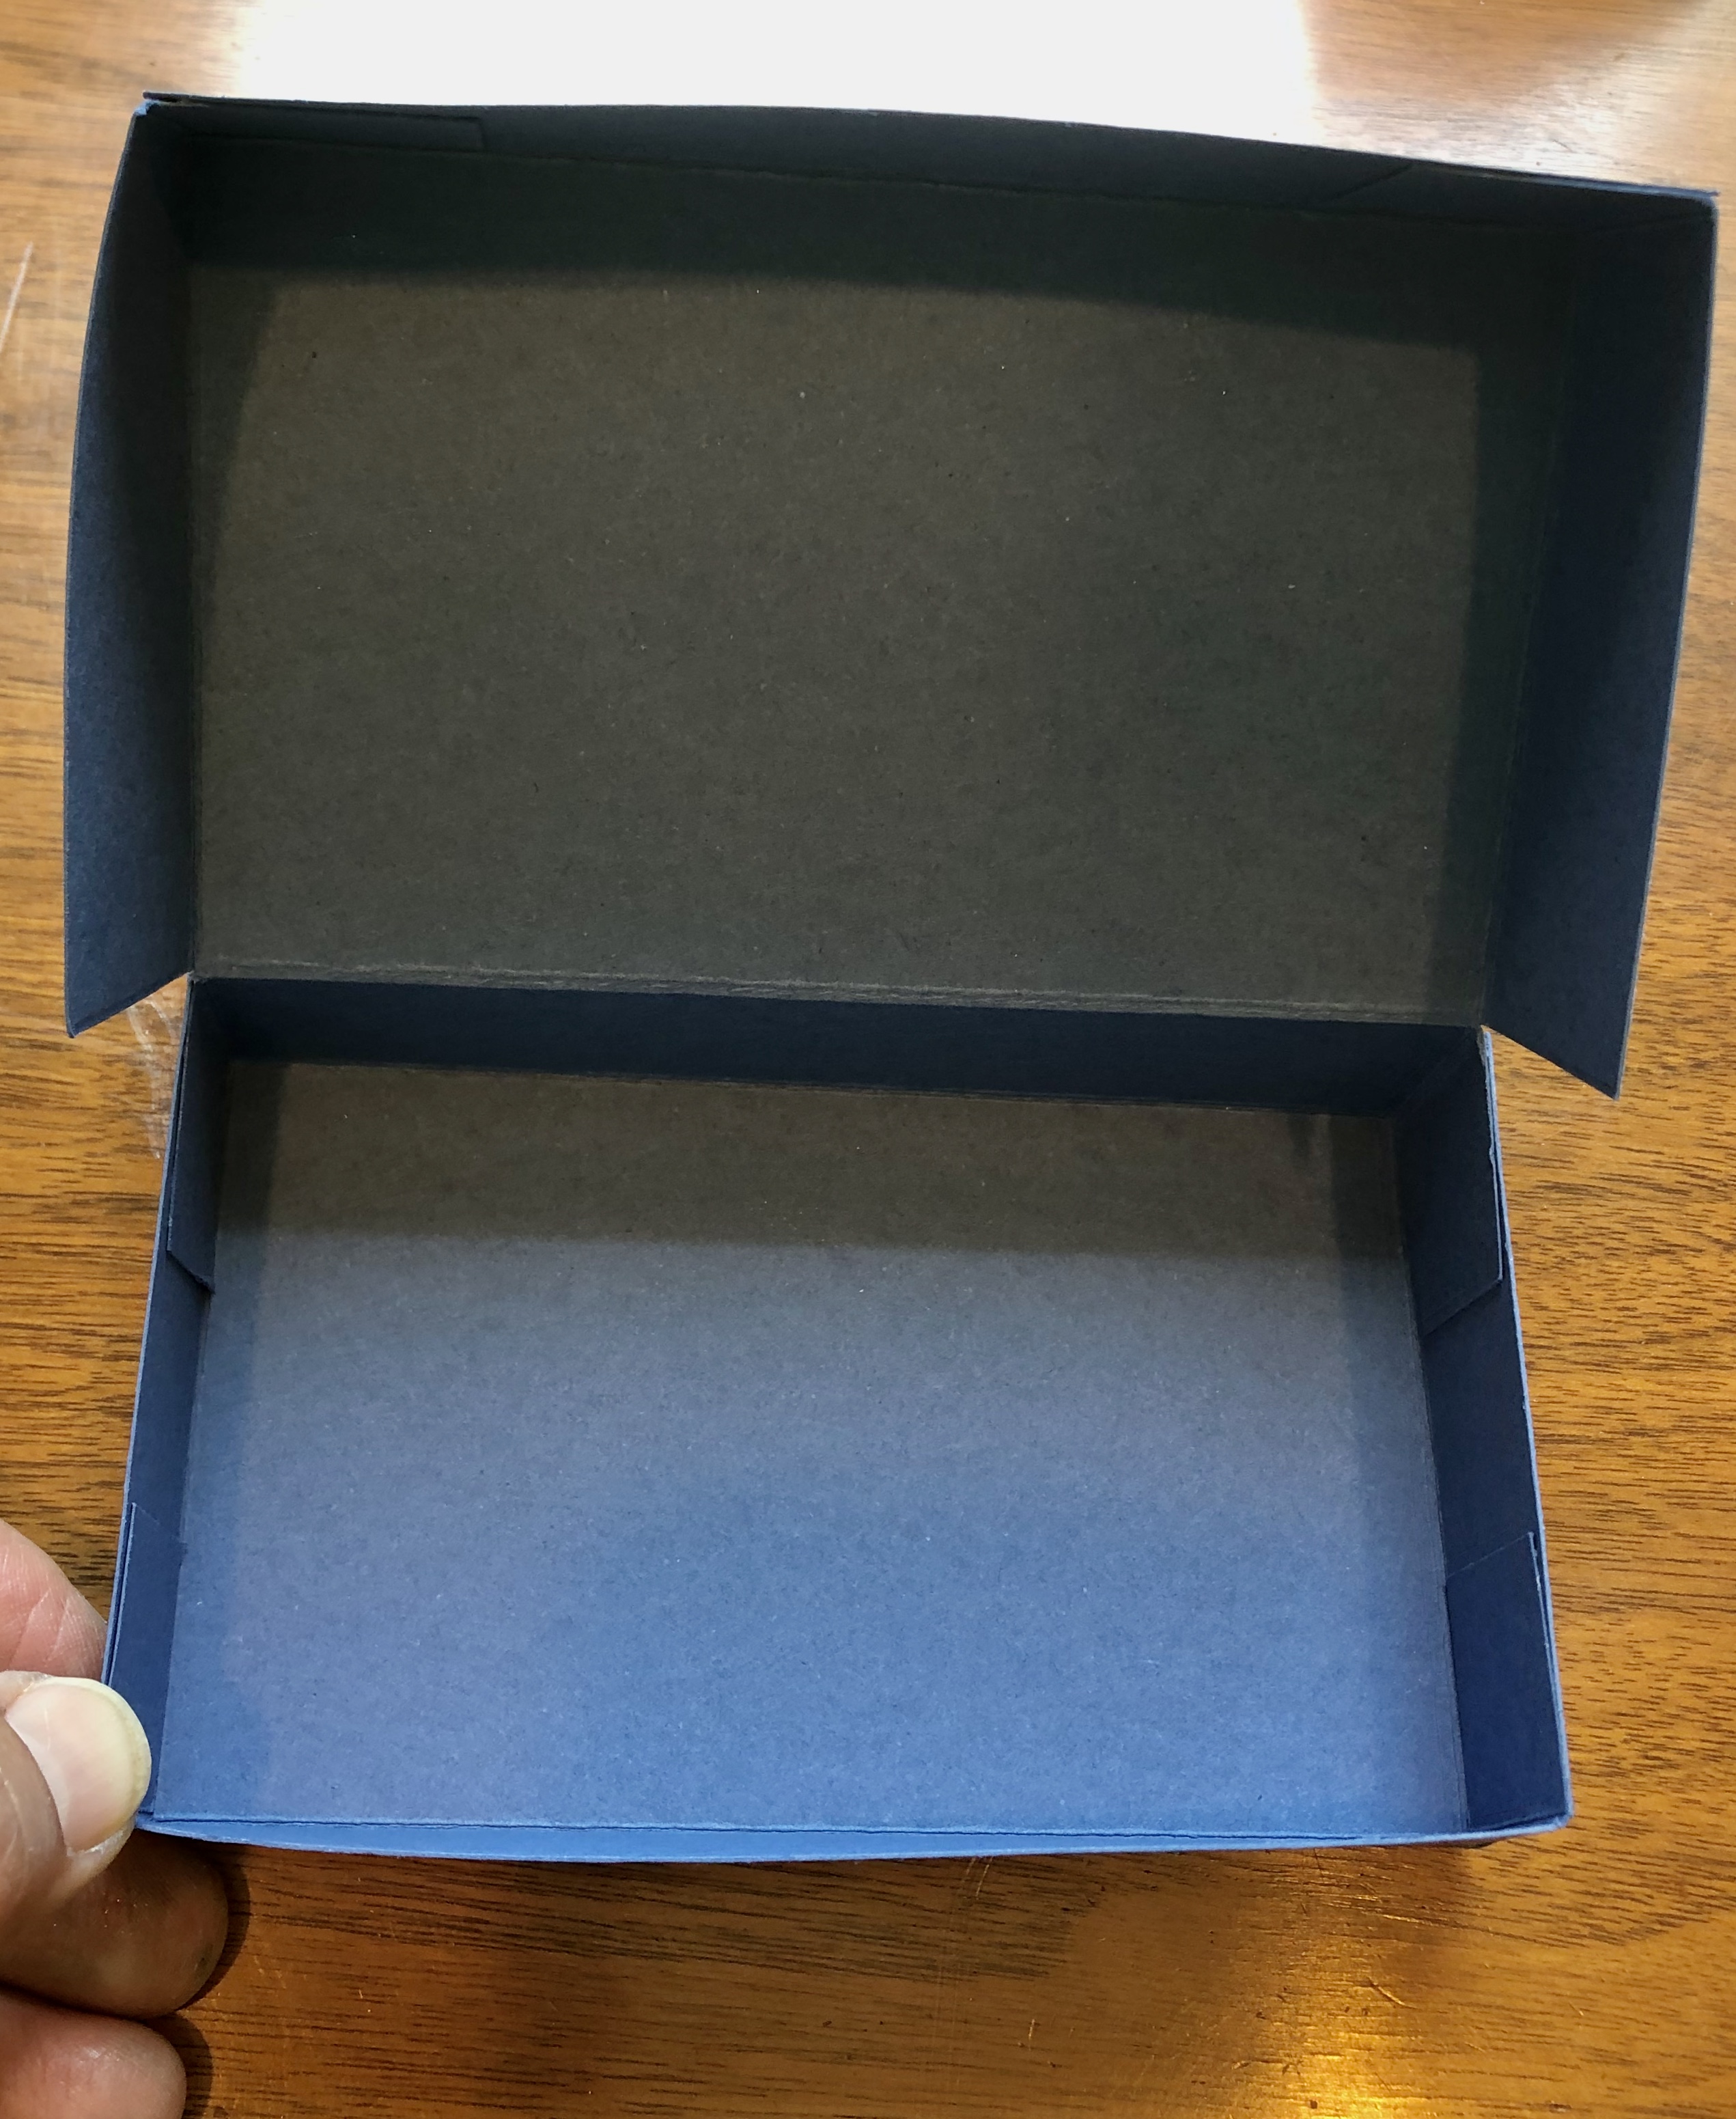
8. Using your Just Jade precut and scored piece, take your Tailored Tag punch and create an opening on the folded edge of your cardstock. Open card stock so it’s flat and lightly draw a line just slightly above the top of the punched area, that extends the width of your gift card. You can use the actual gift card or a straight edge.


9. Cut extended line making enough space for gift card to be inserted easily.

10. Place a strip of Tear & Tape across the backside at top and bottom of the insert and carefully adhere to the inside of your box.


11. Feel free to embellish with DSP and stamps on the inside of your box. This is your project so make it your way! Have fun!!
12. To finish box, use a piece of ribbon, and tie around the short side of the box. I cut the ribbon to 19” so I could tie a bow.

Conclusion: I had so much fun with inking and spritzing the block and then watching the magic happen with the Shimmer Paint. No two cards turn out the same and that’s the beauty of this technique! I hope I’ve inspired you to make your own gift card box. If you’d like to share your creation, just send me a pic! I’d love to post it and give you credit on my page. Have a great stamping day!!!
I had so much fun watching the video and chatting with my friends in club last night. Here are Linda's Gift Card Boxes that she made. She's so creative, so talented! I love them!!!


No comments:
Post a Comment